

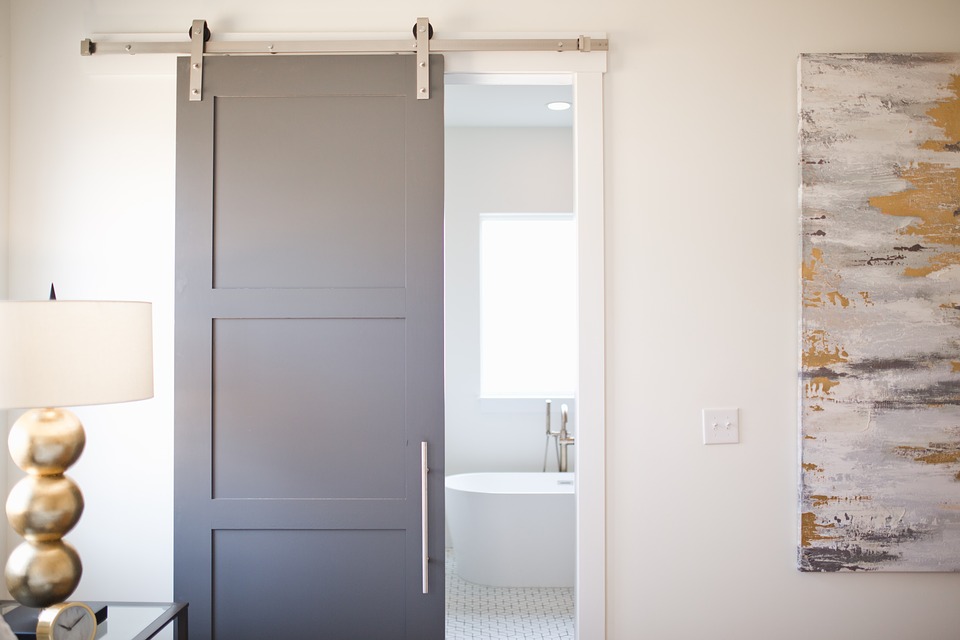
Both practical and aesthetically pleasing, sliding doors are a current trend. If you’re considering installing one in your home, follow this guide to the installation steps.
Prepare for Installation
The first step in installing a sliding overhead door is to prepare the space to accommodate the frame. This is a partition in which the door will slide. To do this, take the necessary measurements of the ceiling, floor, and walls. This will allow you to identify the location of each element: wall, frame, and door unit.
Sliding doors are usually delivered in kits. It is best to purchase a model with the frame already assembled to facilitate installation. If not, you will have to install it yourself.
Fix the Rails and the Frame
The tracks are the elements that will allow the door to slide. Those located at the ceiling level are installed first. You will have to fix them with dowels and screws spaced 60 cm apart. Choose them according to the material of your wall. In general, gypsum board plugs are the most commonly used. Once the tracks are in place, attach the door frame. Be sure to place it straight. To help you do this, it is best to draw a line on which it will be placed beforehand. To reinforce the frame, attach it to a jamb. You can install one at the top and on the sides of the door.
Once the top part is done, move on to fixing it to the floor. You’ll have to do the same thing, namely, attach the rails. However, avoid drilling if underfloor heating or any other device is anchored in the floor. Instead, use glue-down installation.
Install the Partitions
The partition is an installation that allows you to put the sliding system out of sight. It is made of plasterboard. In general, plasterboards are sold in standard sizes. Before installation, cut them to the size of the frame so that the entire wall is covered. Once again, you need the right tools to cut straight. You will need a tape measure and a handsaw. Next, you need to assemble the plaster to the rest of the structure. To do this, screw the sides to the metal structure and attach the rest of the surface with glue.
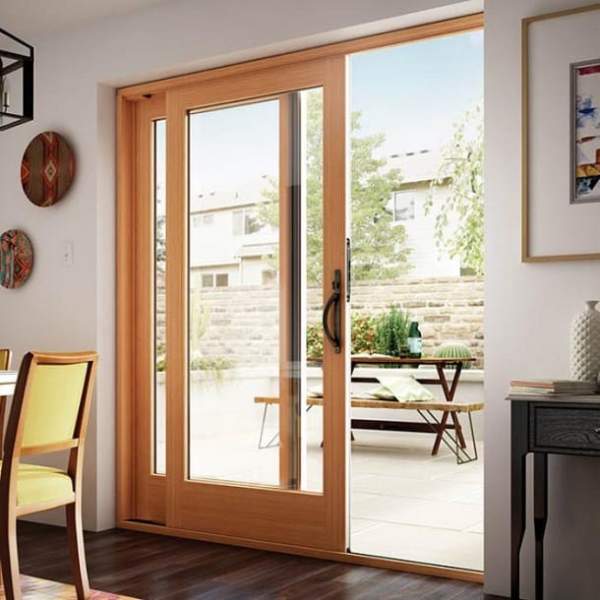
Attach the Door
The door is the last element of the sliding system. You can choose between solid or glass doors, available in different materials. The size can vary depending on the style you are looking for, although there are standard door sizes. In general, a width of more than 80 cm is ideal in a living room or bedroom. Indeed, it is the space necessary to pass bulky furniture. It is possible to have models with 1 or 2 leaves depending on the case.
During the installation, you will need carts (the wheels that will allow the door to slide) and brackets. The carts will be installed on the tracks, while the brackets will be fixed on the door.
Once all the elements are in place, you have to insert your door in the groove provided for this purpose. Before screwing in the final fasteners, make sure it slides appropriately.
Finish the Door
A trim kit is delivered with your sliding door. This accessory will hide the door frame. To install it, simply follow the instructions provided by the manufacturer. Also, remember to paint your partitions and add the door’s accessories. In particular, you will need to attach the handles.


It’s good to know that sliding doors are commonly provided in kits. My parents want us to have a new door. I should advise them to hire a contractor that specializes in door installation.