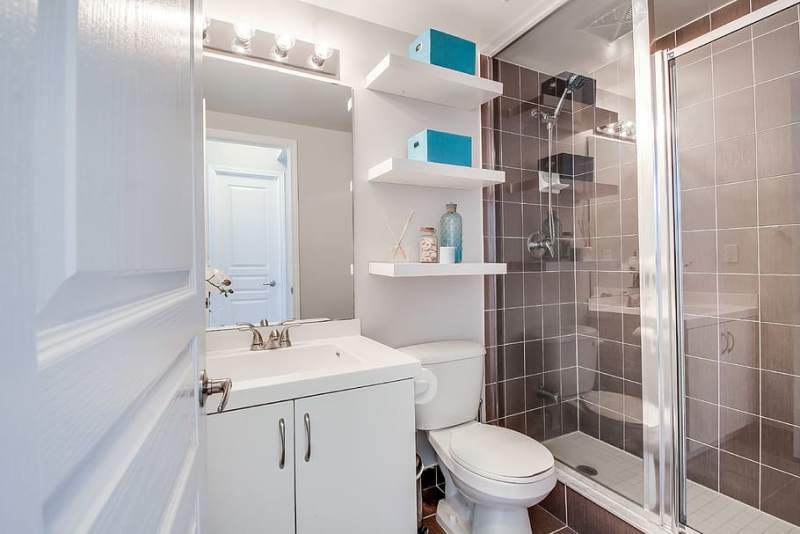
Bathroom tile may look like a waterproof shell, but water can pass through grout and reach the layers beneath it. A durable installation therefore depends on more than attractive tile: the backer, waterproofing system, joints, and transitions must work together to keep moisture out of the wall cavity.
Bathroom Tile Backer Materials for Wet Areas
A tile backer board provides a stable surface for thinset and tile in a bathroom, but it is not automatically waterproof. The choice should suit the level of water exposure and the selected membrane system.
Cement Backer Board and Foam Panels
Cement backer board is a familiar, sturdy option for shower walls. It resists damage from moisture better than ordinary drywall, though its joints and surface still need the specified waterproofing treatment. Fiberglass-reinforced cement panels offer added impact resistance, while foam boards are lighter and can provide insulation; they require compatible adhesives and careful sealing at seams and corners.
Moisture-resistant gypsum board is generally unsuitable in areas receiving direct shower spray unless a specifically approved system allows its use. Check local code and the backer manufacturer’s instructions before choosing a substrate. For broader planning considerations, long-term bathroom design principles can help align material choices with the room’s intended use.
Waterproofing Membranes Behind Bathroom Tiles
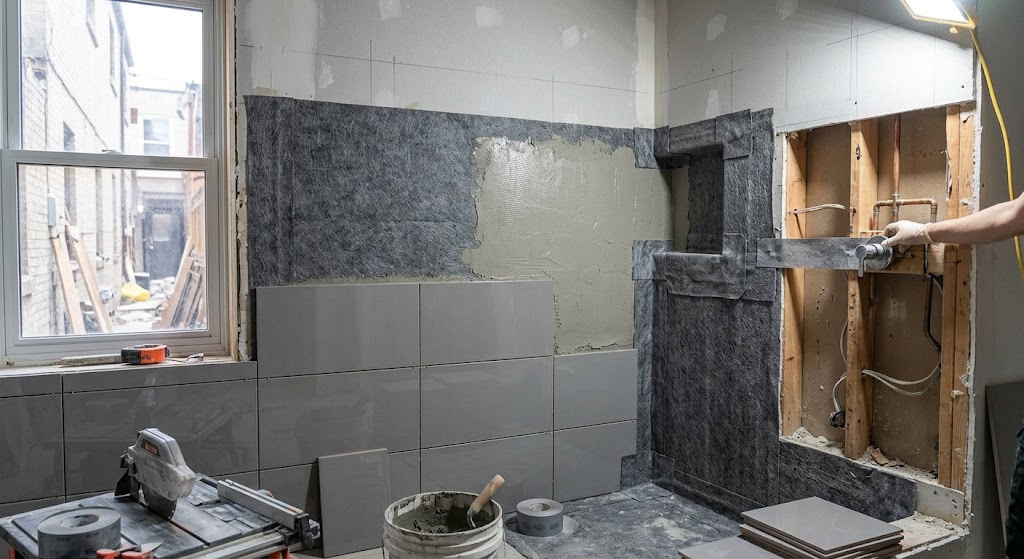
The waterproofing membrane is the primary moisture barrier behind tile in a shower. It should form a continuous layer across the wall and connect reliably at corners, niches, benches, and plumbing penetrations.
Liquid and Sheet Membrane Systems
Liquid waterproofing is brushed or rolled onto a prepared surface and cures into a continuous film, making it useful around irregular shapes. A sheet-based shower wall membrane comes ready to embed in thinset and can make coverage easier to inspect. Either approach can work when the substrate, primer, and accessories belong to a compatible system.
Some products require a waterproofing primer to promote adhesion. At seams, use the system’s specified waterproofing tape or fabric, press sheet membranes firmly into mortar to remove air pockets, and seal penetrations with an appropriate waterproofing sealant. A crack isolation membrane may help manage substrate movement, but it should not be assumed to replace a waterproofing layer unless the product is rated for both functions.
Manufacturer requirements for coverage, drying time, and substrate preparation vary. Combining unrelated products can undermine adhesion, so a tested system is usually the safer choice.
Installation Details That Protect Tile and Walls
Even quality materials can fail if the base moves, seams remain open, or water collects where it should drain. Preparation and detailing turn separate products into a dependable assembly.
Substrate Preparation and Seam Control
Before installation, remove loose material, correct movement or hollow areas, and confirm the surface is clean and dry. Fasteners and spacing must follow the board manufacturer’s directions; on cement board, reinforce joints with compatible mesh tape and thinset before applying the membrane when the system calls for it.
Pay particular attention to windows, niches, benches, and fixture openings, where small gaps can provide a path for moisture. The same waterproofing approach should cover these surfaces and connect continuously to adjacent areas. Water management also depends on a properly built shower pan and slope toward the drain, not simply on wall materials.
Tile and grout alone do not make a shower watertight. Cementitious grout may be suitable when the assembly beneath it is correctly waterproofed and maintained; epoxy grout offers greater water resistance but can be more demanding to install. Grout sealer is not a substitute for a membrane.
Common Material and Installation Errors
Several avoidable mistakes can compromise the finished surface. Watch for these issues during planning and installation:
- Using ordinary drywall in a shower area exposed to direct spray.
- Skipping the required primer, seam treatment, or membrane curing time.
- Leaving gaps around plumbing, corners, niches, or benches.
- Relying on grout or grout sealer as the sole moisture protection.
- Ignoring movement joints on larger tiled surfaces, which can contribute to cracking.
For a useful comparison of waterproofing principles across the home, this overview of roof specialists and moisture protection highlights why sound detailing matters wherever water meets a building envelope.
The most reliable tile assembly pairs a suitable backer with a compatible membrane and carefully sealed transitions. For material selection, code questions, or a complex shower layout, consult a qualified tile or waterproofing professional for guidance tailored to the project.