

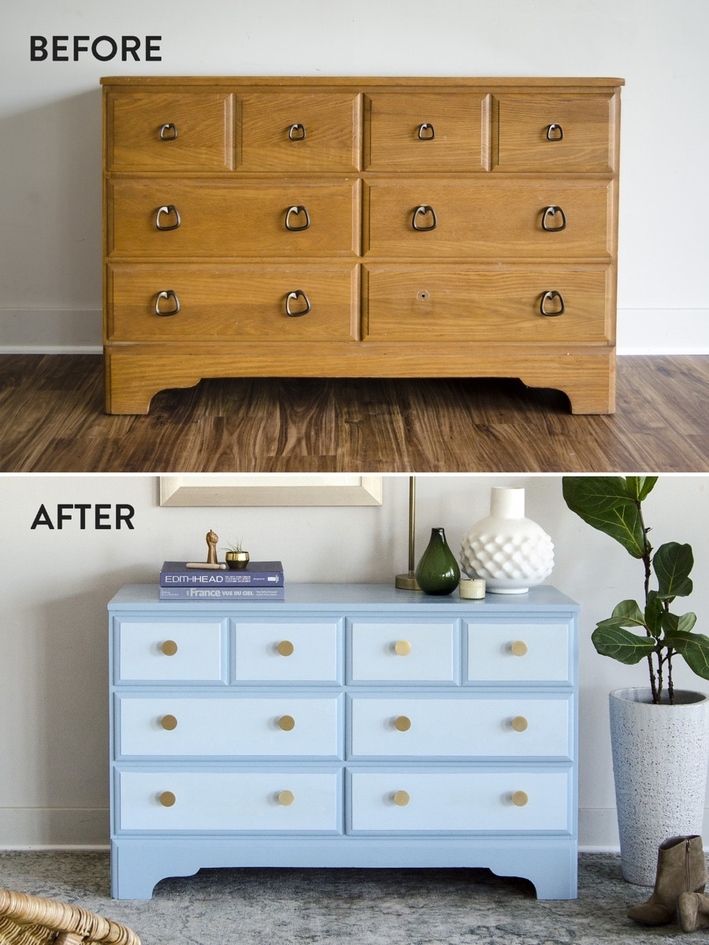
There are times when we think that the best way is to throw away furniture when all that was needed would be repainting the furniture and make it look new again. So, if you were planning to throw away a dresser soon, then here is a DIY project that will give your dresser a new life!
You will need:
- Chalk-finish paint
- Wax Finish
- Sanding block
- Paintbrush
- Clean rag
How to get started:
- Prep your furniture – Give your furniture a good cleaning after removing all the contents from it. Keep it in an aerated place! Do not rush into the process or you will end up with an ugly looking piece. Remove all the drawers and use a screwdriver to remove the handles.
- Sand the dresser – In order to give a good finish to the furniture, smooth out the dresser with sandpaper. It is used to smooth out some rough edges and use a medium grit sanding block to sand off any high points. Remove the glossy finish. If the furniture is already dull, then you can skip this step.
- Clean the dresser – Use a damp, lint-free cloth to wipe down the dresser and allow it to dry completely. If there are tougher stains and gunk, then it can be removed with a combination of vinegar and water. During this step, it is crucial to remove any dust and debris from the surface.
- Roll on a coat of paint – Since we are using a chalk-finish paint, it is recommended to add a tablespoon of water to thin out the paint to a desirable consistency prior to painting. Use a small roller in order to ensure a smooth finish on large areas like the drawer fronts and drawer sides. If you are not a fan of rollers, then go for a brush which is high quality so that you don’t end up with bristles in the paint.
- Take the brush – Not every surface of the dresser can be painted with a roller, that’s why it is recommended to use a brush. Take the brush and go on painting the areas and edges where the roller didn’t reach. Next is to allow the paint to dry completely before going onto the next step. Depending on the paint used, you can apply 1 to 3 coats of paint in order to make sure that the dresser is coated well. Wait for at least one day, to apply the protective finish.
- Buff the wax finish – For oil-based paints, it is not necessary to put a finish coat on top of the dresser, but as we used chalk paint, then wax finishes are a common finishing step. We used two different wax finishes: a clear and dark. The dark wax finish emphasizes the details and around the edges and the same rag to buff that dark wax directly into the clear wax. It is important that the transitions look seamless from one wax to the other.
- Use wax for the rails – To make the dresser look new, improving its function is one plus. One simple trick can help do that and it is to buff the wax on the wood rails of the dresser drawer and the inner rails where the wood rubs against each other.
- Paint the inside as well – Don’t forget to paint the inside also! Paint the inside of the drawers and the sides in order to have a completely new dresser. Sometimes, we even forget about the back of the dresser, so paint there as well. If you want to get super creative, then try decoupage scrapbook paper to the inside of the drawers.
- Go for stencils – If you love stencils, then do not hesitate! The easiest way to decorate a dresser is stenciling on the drawers or the whole piece. Just make sure that the dresser is dry first!
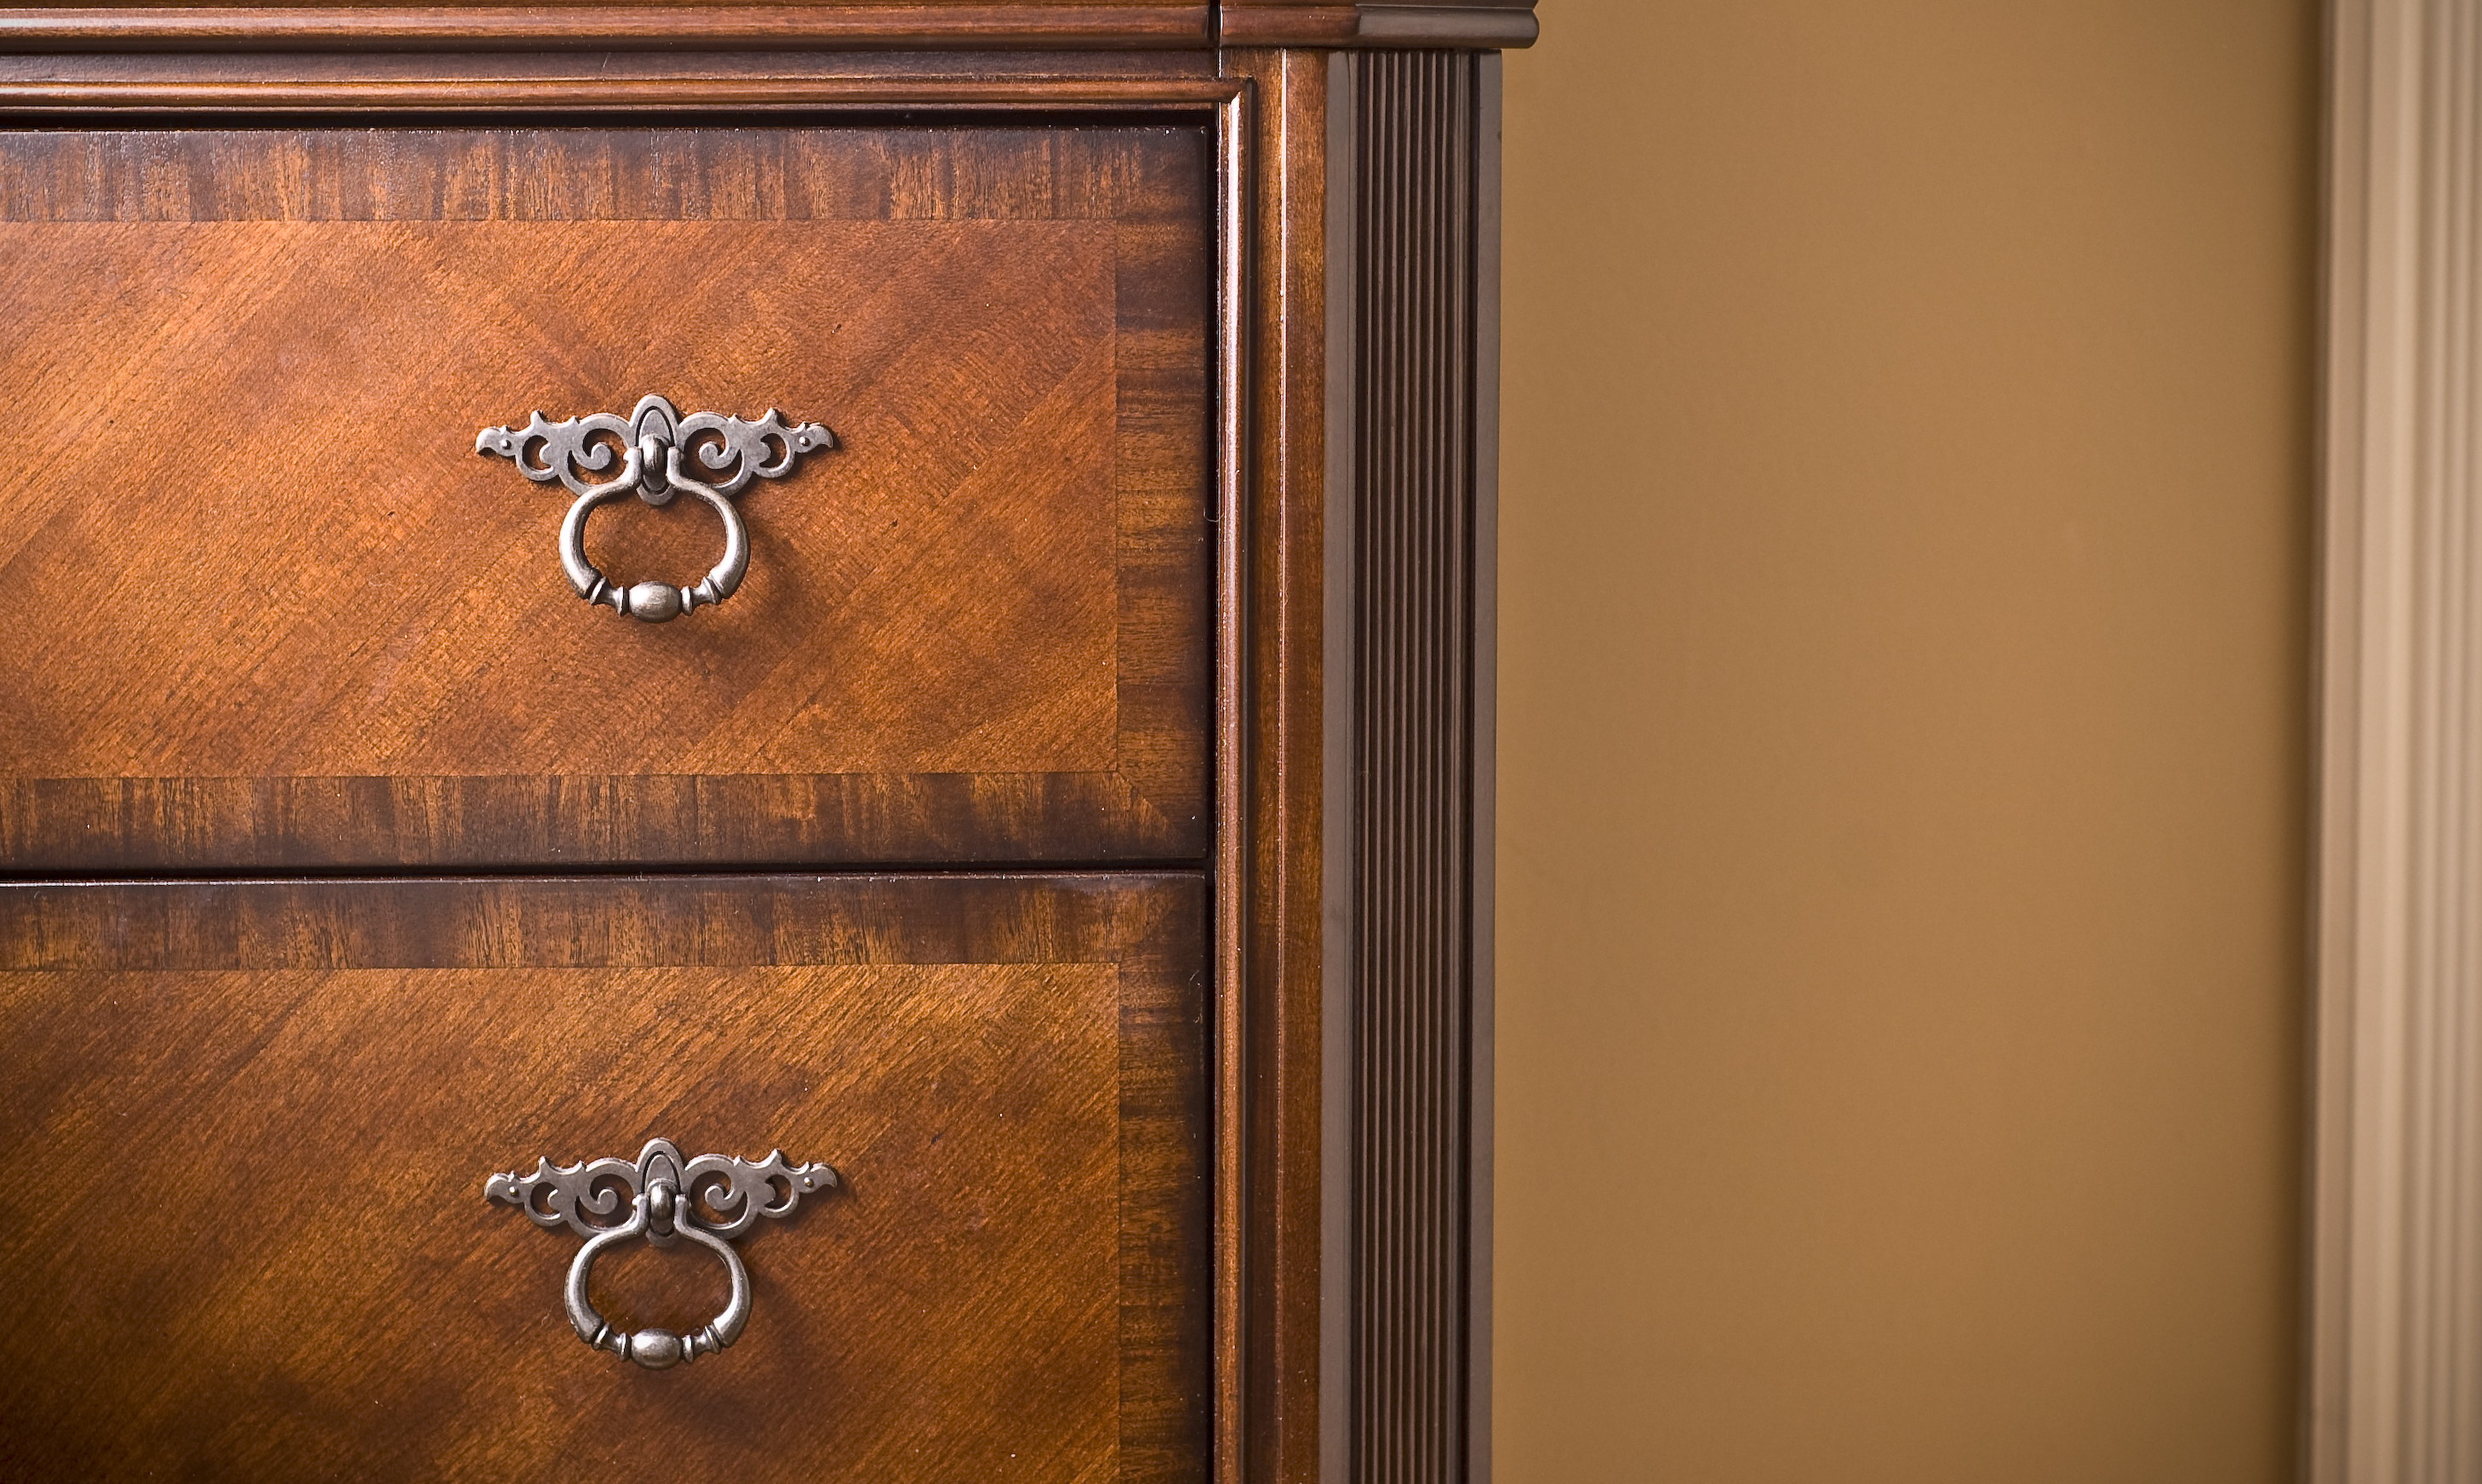
- Change the handles – If you are kind of fed up with the old handles, then no worries. Change the handles and knobs to a more trendy one in order to make your dresser look new. It can happen that you don’t want to change the knobs and handles, then you can give them a makeover by using metallic wax paint on them. It totally transforms tarnished hardware into something worth keeping around the house.
- Wax or sealer – If the dresser in question is something that you use almost every day, then it is logical that it can wear down or get stained. So to avoid that you can definitely use wax or sealer or a top coat. Add clear wax in order to give your dresser a protective film from heavy traffic.
Next time, before throwing anything away, do think of investing in a DIY project that will be beneficial for you and the environment!