

Whether you are looking for a striking addition to your accent wall or a nice backdrop for your bed, a DIY flower wall can instantly transform a space and add in more warmth, texture and color.
So, let’s see how to actually make one.
How to Make a DIY Flower Wall?
 What you’ll need:
- A rectangular foam board
- A bag of faux flowers
- Six Velcro strips
- A glue gun
- Wire cutters
- A pair of scissors
- A measuring tape
- A pencil
Instructions on how to make a DIY Flower Wall
Step 1: Take appropriate measurements
Once you’ve gathered all the supplies you need, decide where you want your DIY flower wall to be and think about how big or how small you want it to be. Once you’ve decided on the place and the size, use a measuring tape to measure the length and width of the space.
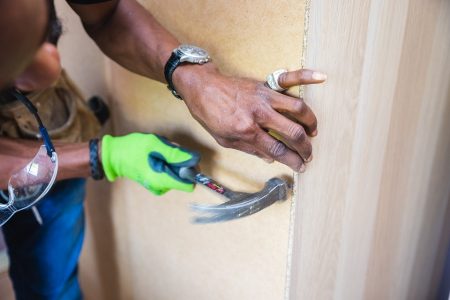
Step 2: Cut the foam according to the size you want
Since you have the measurements of your DIY flower wall, cut the foam board as per the desired size and make the edges as straight as possible. However, be very careful when you are trimming the edges.
Note: If you’ve bought a foam board that can already fit in the space you’ve chosen, you can just skip this phase.
Step 3: Cut the flower stems
If you’ve bought faux flowers with wire stems, cut them off with the wire cutters, but remember to leave about an inch (or two) of wire so that you can use it to attach the flowers to the board.
Note: Again, if you’ve bought stemless faux flowers, there is no need to worry about trimming them and just skip this step.
Step 4: Arrange the Faux Flowers
You need to arrange the faux flowers properly in place before you stick them to the foam board. This is the phase where you can display your creative skills and create the design you want for your DIY flower wall. So, take all the time you want and arrange the faux flowers until you get the look you want.
Additional Tip: If you’ve decided to use different types of flowers, it’s recommended to start by placing the largest ones first and ending with the smallest ones; once you’ve arranged the large flowers in the desired order, you can fill in the empty spots around the large ones with the small flowers you’ve got.
Step 5: Stick the flowers to the foam board
Now, punch a hole in the foam board and secure the faux flowers onto the board by pushing the stems through it. (Additional Tip: If the wires of the faux flowers are strong, use them to push through the foam and create a hole).
Once you are done, take a look at your work. If you think it lacks flowers, add some more. If you want to have a lush and full look, make sure you are adding different layers of faux flowers. Use a hot gun to stick the extra flowers to the others. And, before you move to the next step, make sure all the flowers are nicely arranged and properly secured.
Note: This is what you need to do if your faux flowers don’t have stems: Using the hot glue, stick the faux flowers to the foam board. Once they are properly secured, give the glue around 10-15 minutes to cool down before proceeding to the next step.
Step 6: Use the Velcro strips
Now is the time to complete your project and hang the flower board and for that, you’ll be using Velcro strips.
So, stick the Velcro strips to the back of the board vertically. I suggest using 3-4 Velcro strips for a secure hold. And, of course, you may add more if your flower board is heavy.
Note: Instead of the Velcro strips, you can use nails or command hooks, but you’ll see that it’s easier to hang the board with the Velcro strips and the strips will make the flower board look like it’s floating.
Step 7: The “Display” Phase
This is the last stage where you’ll be hanging the flower board up so that the Velcro strips of the board will hook to the strips on the wall.