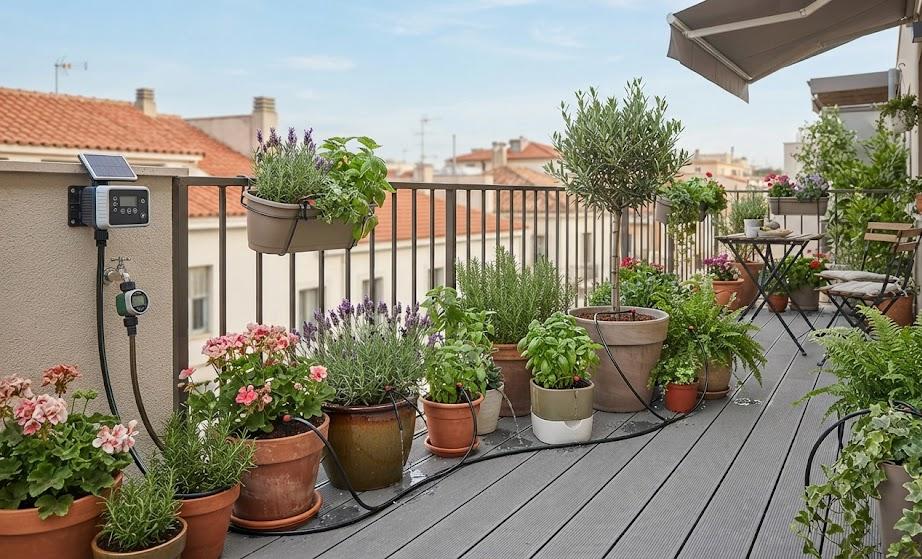
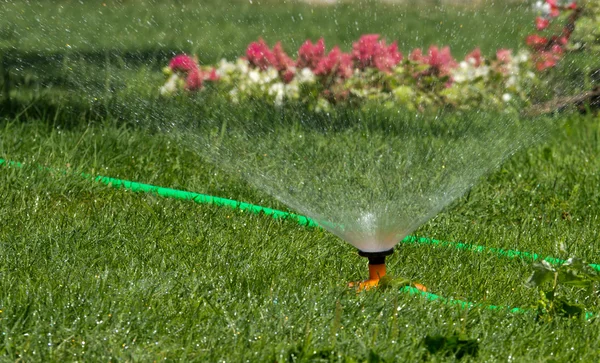
With increasing concerns about water conservation and efficient gardening practices, programming an automatic watering system emerges as a groundbreaking solution. By harnessing technology, this method not only ensures your plants receive the optimal amount of moisture but also significantly reduces water waste. Whether you have a small indoor garden or a sprawling outdoor space, learning how to set up this system can transform your gardening experience into a smarter, more sustainable endeavor.
Understanding the Basics of Automatic Watering Systems
An automatic watering system can be tailored to suit various gardening needs. These systems typically consist of sensors, a water source, and a controller. The controller manages how much and when to water your plants based on readings from sensors that monitor the soil moisture levels. By utilizing such a system, gardeners can minimize water use and maximize plant health.
Why Choose an Automatic Watering System?
There are several advantages to implementing an automatic watering system:
- Water Conservation: Automatically adjusts water delivery based on real-time soil moisture levels.
- Time Saving: Reduces manual watering, allowing gardeners to focus on other tasks.
- Enhanced Plant Health: Consistent watering promotes stronger, healthier plants.
- Customization: Easily set schedules based on specific plant needs.
This level of sophistication makes it an invaluable tool in modern gardening.
Key Components Required
To set up an effective automatic watering system, you’ll need the following elements:
- Water Source: This could be a garden hose, rain barrel, or direct plumbing.
- Soil Moisture Sensors: Sensors that detect the moisture level in the soil.
- Controller: A programmable device or smartphone app that manages the watering schedule.
- Drip Lines or Sprinklers: The delivery system for water, depending on your garden’s layout.
Steps to Program Your Automatic Watering System
Getting started with programming your system is easier than you might think. Here’s a simple step-by-step guide:
- Install the Soil Moisture Sensors: Position these throughout your garden to gauge moisture levels accurately.
- Connect the Controller: Link your sensors to the central controller, ensuring a smooth interface for scheduling.
- Set the Watering Schedule: Depending on plant types and environmental conditions, configure when and how much to water.
- Test the System: Run the system to ensure everything works as intended, making adjustments if necessary.
- Monitor and Adjust: Regularly check plant health and sensor readings to optimize the system as conditions change.
Implementation Tips for Success
Once your system is up and running, here are some additional tips for maximizing its efficiency:
- Regular Maintenance: Periodically check sensors, hoses, and valves for clogs or leaks.
- Seasonal Adjustments: Modify your programming as seasons change; plants may require less water in cooler months.
- Use Mulch: Applying mulch can retain soil moisture, lessening the amount of water your system needs.
Conclusion
By learning how to program an automatic watering system, you not only contribute to water conservation efforts but also ensure your plants thrive effortlessly. Embrace the convenience of technology in gardening, and enjoy a lush, vibrant garden with less effort.