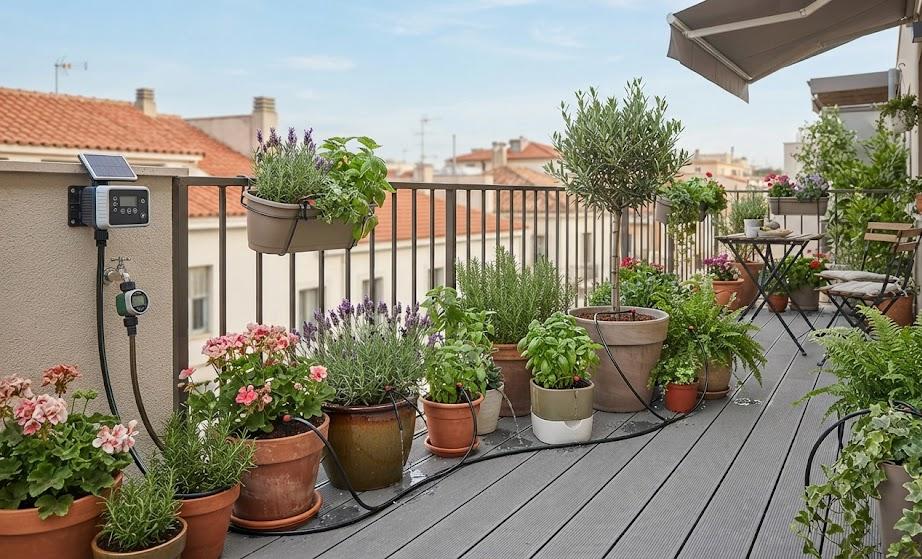
Mantaining a garden can be a rewarding experience, yet it often demands consistent attention, especially when it comes to watering plants. For those with busy schedules or who travel often, ensuring plants receive adequate moisture can be challenging. Enter the automatic watering system using a simple plastic bottle. This eco-friendly solution not only conserves water but also provides a steady supply of hydration for your plants. By repurposing old bottles, you save on costs while contributing to sustainability.
Why Choose a Plastic Bottle Watering System?
Utilizing a plastic bottle for an automatic watering system offers numerous advantages:
- Conserves Water: Delivers moisture slowly, minimizing waste.
- Cost-Efficient: Creates a zero-cost irrigation method from recycled materials.
- Prevents Plant Stress: Maintains consistent soil moisture, avoiding the extremes of over or underwatering.
- Time-Saver: Reduces the frequency of daily watering, making it ideal for busy lifestyles or weekends away.
- Environmentally Friendly: Repurposes plastic waste, promoting eco-conscious gardening practices.
Materials Needed
Before diving into the creation process, gather the following materials:
- A plastic bottle (preferably 1L or 2L)
- A sharp knife or scissors
- A drill or a needle (for making drainage holes)
- String or wire (optional for hanging the setup)
- Soil or mulch (to enhance the slow release of water)
Step-by-Step Guide to Crafting Your Automatic Waterer
Step 1: Selecting the Right Bottle
Pick a sturdy plastic bottle that matches your plant size and watering needs. A 1-liter bottle is suitable for smaller plants, while a 2-liter bottle serves larger plants or when longer hydration is required.
Step 2: Preparing the Bottle
Clean the bottle thoroughly to eliminate any residues and remove any labels to keep track of the water level easily.
Step 3: Creating Drainage Holes
Utilize a needle or sharp tool to puncture small holes in the bottle for water flow control. Here are a few methods:
- Bottom Hole Method: Poke a few holes at the bottom to allow deep watering.
- Side Hole Method: Make holes in the lower half for even water distribution.
- Cap Hole Method: Drill holes in the cap for a slow-drip effect.
Step 4: Filling the Bottle
Fill the prepared bottle with fresh water. For added nutrition, consider mixing in some liquid fertilizer.
Step 5: Inserting the Bottle into the Soil
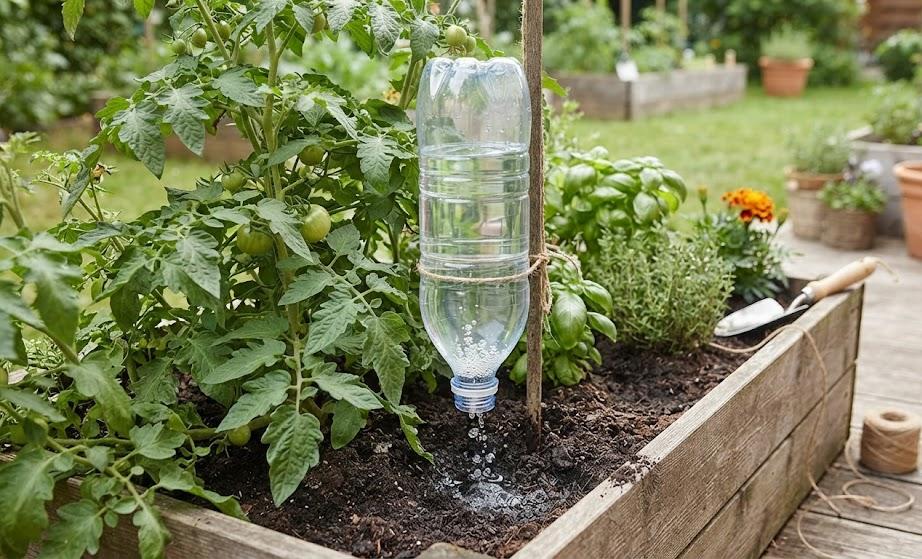
Position the bottle into the soil near your plant, ensuring the holes aim towards the roots. Keep at least one-third of the bottle above ground for easy refills and, if desired, cover the exposed portion with mulch to help retain moisture.
Step 6: Monitoring and Adjusting
Regularly check the water level. If the water drains too quickly, make smaller holes. Conversely, if it drips slowly, slightly enlarge the holes for better efficiency.
Alternative Hanging or Suspended Watering Techniques
For hanging plants or those in raised beds, adapt the method by suspending the bottle to drip water slowly through a hole in the cap. You could also attach a small tube to direct water flow more precisely.
Tips for Maintaining Your Automatic Waterer
- Use multiple bottles for extensive gardens to ensure proper hydration.
- Adapt hole sizes according to the type of soil: sandy soils drain faster while clay holds moisture.
- Regularly check soil moisture levels to guarantee optimal hydration.
- If placed in sunlight, protect the bottle from algae growth by painting it or wrapping it in cloth.
Crafting a DIY automatic watering system with a plastic bottle is a pragmatic and sustainable way to keep your garden thriving. This method not only maintains consistent soil moisture but also empowers gardeners to recycle materials effectively. By following these steps, you can ensure that your plants flourish, even with your busy schedule. Implement this simple yet effective solution in your garden and witness the transformation of your watering routine.