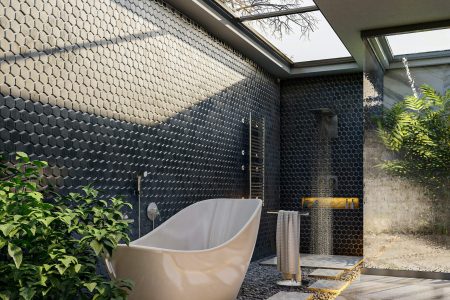

Wooden pallets lend themselves to all sorts of designs and uses. For example, you can use wood pallets in clever and aesthetic ways to make a wood deck. The raw, distressed wood will give your deck a rustic, natural look. By choosing the right type of pallet, you can enjoy relaxing moments on a 100% recycled deck. Be careful to consider the number of pallets to use and the time needed to dismantle them.
Here is a step-by-step guide on how to build a pallet deck.
Focus on the pallets to use for a 15 m² deck.
For a 15 m² terrace:
– To make the base of the deck, you need 15 whole pallets of the same size.
Choose storage pallets: they are designed for outdoor use and are solid and thick. You can find them on construction sites or in DIY stores.
– For the deck floor, you need about 20 cut pallets that you will screw to the base.
Equipment needed to build a pallet deck.
Brick chisel
Turpentine
Geotextile felt
Gravel
Linseed oil
Hammer
Tape measure
Spirit level
Crowbar
Wooden stakes
Sander
Rake
Sand
Jigsaw
Wood screws
Screwdriver
1. Prepare the base of the pallet deck
The base of the deck consists of a very thick bed of pallets laid on gravel:
– Delineate the surface of the deck with stakes driven into the ground.
– Install a geotextile film over the soil to prevent moisture from rising.
– Spread a bed of gravel and sand in the deck area.
– Level with a rake and check the level in several places.
– Position each pallet edge to edge while checking for levelness with a spirit level at several points on the pallet.
Tip: It is best to use whole pallets to form the base.
– Once all your pallets are on the floor, recheck the levels.
– Fill in any differences in level with tile or flat bricks.
2. Cut or disassemble the slats to form the decking.
There are 2 ways to cut the slats used for the floor.
Method 1: Cut the boards with a jigsaw
Cut the slats on both sides of the pallet rails with a jigsaw.
This is the fastest method, but the slats will not be very long.
Method 2: Remove the slats from the pallets with a hammer, chisel, and crowbar.
– Insert the brick chisel between the batten and the wooden die (cube).
– Leverage and gently release the batten.
– Tap the nail tips to make them stand out.
– Repeat on each pallet.
– Sort the boards by cutting them: length and width. This ensures that the deck boards are perfectly aligned.
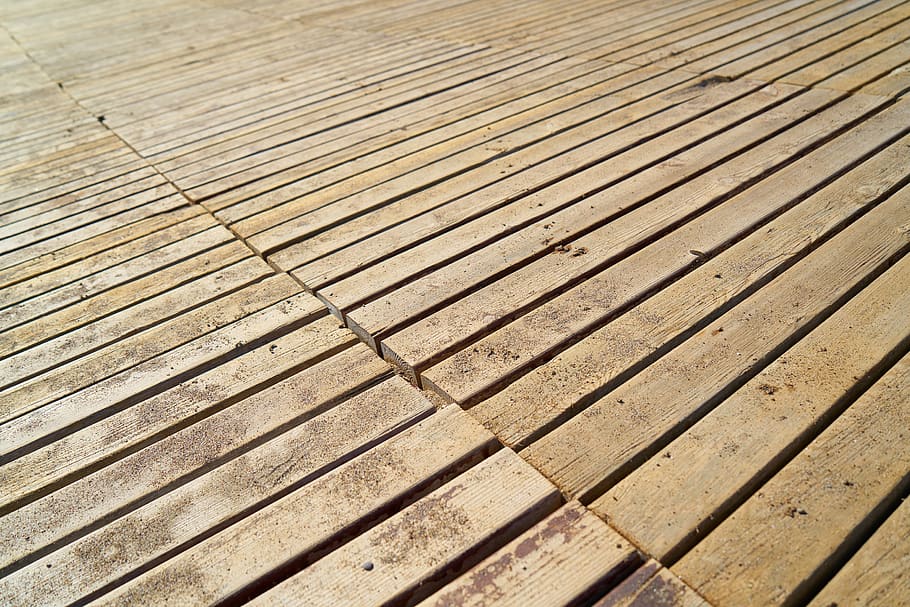
3. Screw the boards into the deck base of the pallet.
The installation of the 1st row of boards must be precise so that the alignment is perfect.
To do this:
– Carefully choose boards of the same width.
– Begin installation in the corner of the deck, and position the first board on a corner of the base pallet.
– Screw it into the baseboard rails in several places.
You can also screw the battens diagonally for an original look.
To do this:
– Draw a diagonal line on the deck.
– Screw in the first row of battens using this diagonal line as a guide.
Important: Use galvanized steel screws designed for outdoor use.
Next:
– Position the 2nd batten in line with the 1st and screw it in.
– Proceed in the same way for all the 1st row of battens, checking the alignment regularly.
– Do the same for all rows of boards, alternating the widths.
– When all the rows of boards are screwed in, cut the ends of the boards that protrude with a jigsaw.
– Then screw the edge boards to the sides of the deck for an excellent finish.
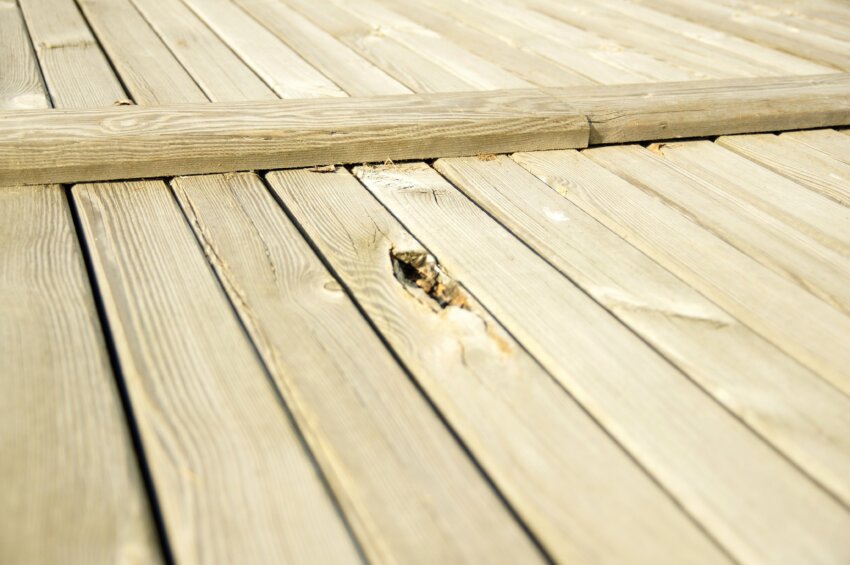
4. Finishing your pallet deck
Sand the deck
Proceed as follows:
– Sand the entire deck with an electric sander.
– Dust with a broom to remove sanding residue.
– Wet mop the deck for effective dusting and allow to dry as long as necessary.
Treat the wood on the deck.
– Method 1: With linseed oil.
◦ Prepare a mixture of linseed oil and turpentine: 4/5 to 1/5.
◦ Apply 3 coats and let dry a minimum of 24 hours between each coat.
Good to know: linseed oil tends to darken the wood. To soften this color, you can dilute a little white pigment in the mixture.
– Method 2: With an oil or saturator.
◦ Apply a protective oil on the wood in 2 coats to be renewed 2 times a year.
◦ You also have the option of applying a wood saturator to protect the deck’s wood.
Hope the above steps will help you make your deck. Remember to share your experience in the comments below.